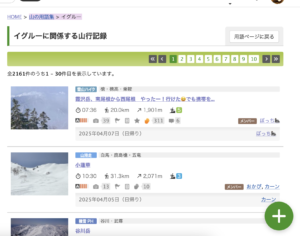
70 Igloo-Themed Trip Reports on Yamareco So Far This Season
A search for mountain trip reports on Yamareco with the word �ȥ����롼�� (igloo) in the title yielded a surprising number?70 entries already this season. If we include those who didn��t put it in the title, there are far too many to count. Clearly, igloo-building has become much more common among winter mountaineers.
Documenting Skill Progression Through Repeated Practice
Some users have compiled ��summary articles�� using photos to document their own igloo-building journey?starting from early attempts when they struggled to build a roof, to gradually improving over multiple tries. These are very interesting to read. One person wrote that they kept at it not because they had to, but because it was simply fun to build. I couldn��t agree more.
Although these two users never attended any official workshops, it��s clear from their photos that their skills have significantly improved:
Skills Gained Through Personal Trial and Error Are the Ones That Stick
At igloo-building workshops, I often demonstrate how to build one in 40 minutes. But that��s really just to show that ��yes, it is possible to make one.�� Ultimately, the skills that truly stick are the ones you gain by trying yourself, failing, thinking through the problem, and discovering your own tricks that make it work. That feeling of success is the most important part of learning.
Even if you’re taught every little step in advance, it often doesn’t stick, and it tends to lead to a passive, ��waiting for instructions�� mindset. The best approach is to encourage people to think and experiment on their own.
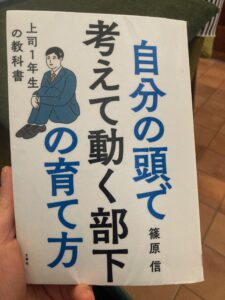
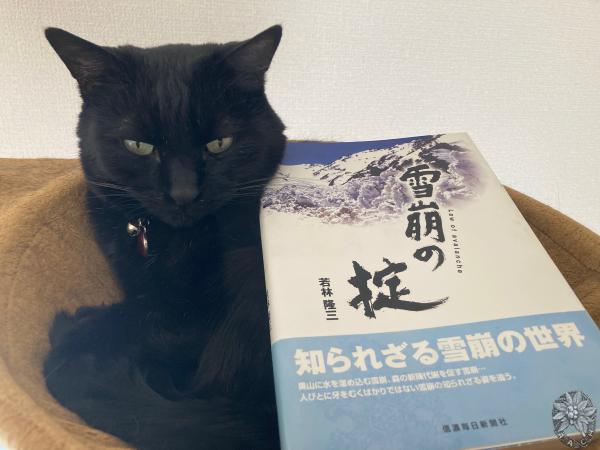
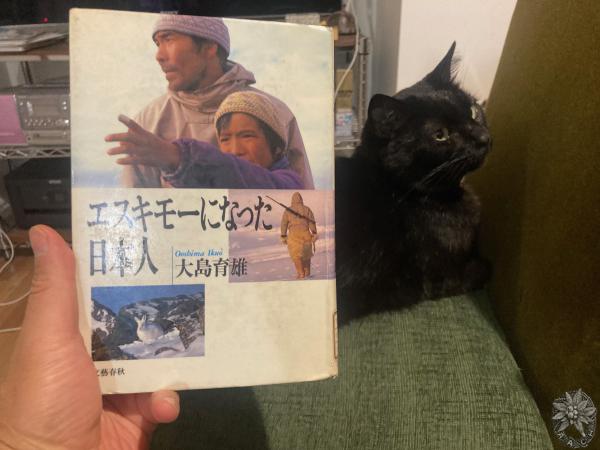
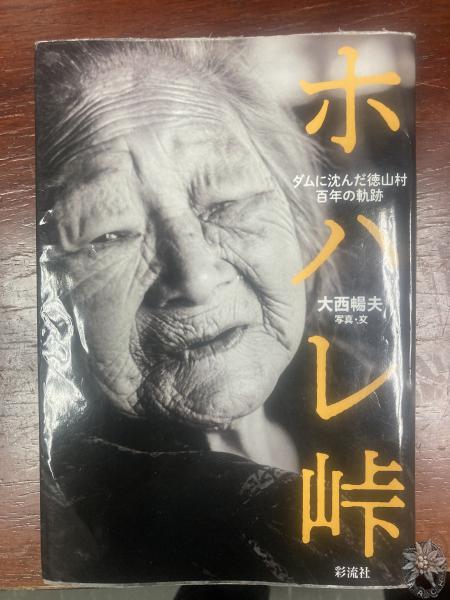
I recently read a book by Makoto Shinohara that echoed this same idea. Though I probably wouldn��t have picked it up based on the title alone, I found his Twitter commentary on energy policy and agricultural self-sufficiency during these times of change fascinating. His book provided great insights into how people learn?and this is exactly how learning works.
Igloo-Building Has Huge Potential for Personal Growth
Unlike snow caves, which anyone can dig, igloo-building tends to show a lot of individual variation. That��s what makes it so enjoyable?there��s plenty of room for creativity and personal growth, making it incredibly rewarding. It��s an activity full of charm.
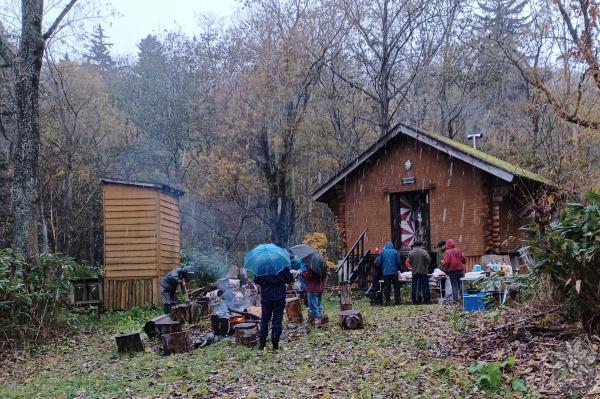
Mid-Season Summary of My Own Igloo Activities
So far this season, I��ve held 10 workshops:
2 at the Matsumoto City Mountain Forum
2 with university mountaineering clubs
3 with mountaineering associations
3 with friends or small groups
In addition, I��ve spent 6 nights in igloos on my own mountain trips. I still have two long expeditions planned for the holiday period, and I expect to spend 4 or 5 more nights in igloos (I��ve been putting it off, but maybe I��ll finally head out tomorrow). This winter, I even had the intense experience of building igloos in the worst storm conditions I��ve ever faced, adding to my experience all the more.
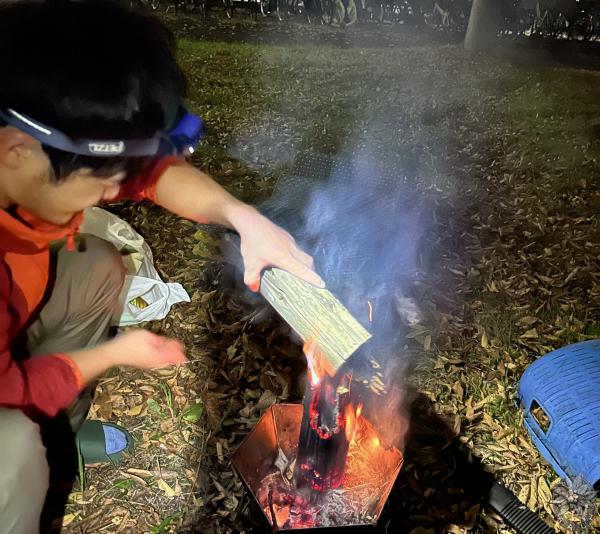
Igloo Night in the Storm Zone at Norikura-dake (Elevation 2,640m)
Crossing Norikura-dake on a Unique Route in Fierce Winds
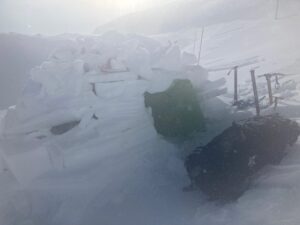
During a spring weather pattern with intense winds, I traversed Norikura-dake via a unique route. My partner’s long-established route design follows a ridge leading directly up to the sharp peak of Eboshi-dake. We spent nearly ten hours breaking trail through beautiful coniferous forests before reaching the volcanic plateau at the summit, where we entered the storm zone. A tent (not that we had one) would have been blown away for sure.
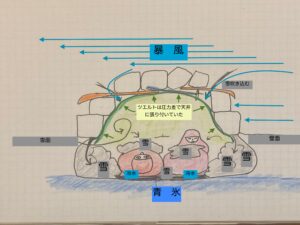
Roof Collapsing in the Wind �� Ski Roof Construction
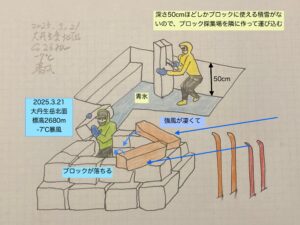
The Norikura Skyline road was covered in blue ice, requiring ice screws for traction. We found a snowdrift with packable snow deep enough for a saw to cut through, and we began constructing our igloo there. The first row of blocks was easy to carve, but beneath that was solid blue ice. We widened the block supply area, transported them, and stacked them.
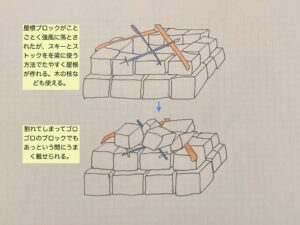
Around the third row, we attempted to place long blocks as a roof, but the wind knocked them down the moment we looked away. Every time they fell, they snapped in half. After this happened three times, we switched to using skis and poles as beams. That worked like a charm, and the roof was up in no time.
Double Layering the Windward Side to Seal Gaps
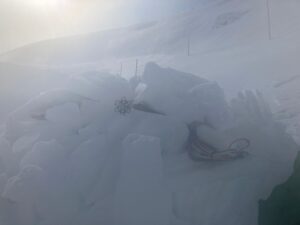
Unlike usual, I couldn’t afford to leisurely fill in the gaps. On the windward side, I added an extra exterior wall for a double-thickness defense. Even so, the powder snow carried by the ground blizzard kept infiltrating through the cracks?just like what happened to me on Mt. Fuji before.
My partner was busy collecting blocks at first, but soon, his face was covered in frost formations (sastrugi), and his glasses became useless. The wind-driven snow kept striking his eyes, blinding him from looking upwind. I had him wait under a bivy sack, though even that was a struggle to keep from being blown away.
Bivy sack Sticking to the Wall Thanks to Bernoulli��s Principle
Inside the igloo, snow was still blowing in from the gaps. But when we wrapped ourselves in a bivy sack, something curious happened?it clung to the walls without any support. The fast-moving wind outside created lower pressure compared to the inside, making the tarp stick to the surface. It was a real-life demonstration of Bernoulli��s principle?the same aerodynamic effect that makes an airplane wing generate lift. I��ve been interested in aeronautical engineering since middle school, so I recognized it immediately.
Bernoulli��s effect lasted until morning. But I sure wished the wind would die down sooner…
The Igloo Filled with Snow, but at Least the Wind Was Just Noise
The snow that blew in between the walls and the bivy sack kept creeping inside. Snow piled up on both sides, covered my sleeping bag, and eventually fell underneath me, melted from my body heat, and turned into a freezing puddle. I shivered all night, but it wasn��t life-threatening.
The wind occasionally slammed against the igloo like a powerful punch. I had simulated an emergency plan in case the walls collapsed, but fortunately, they held.
I lit my stove on my lap, drank multiple cups of milk tea, and finished both dinner and breakfast. By morning, the wind was still howling. I stuffed my soaking wet sleeping bag into my backpack, pinched my nose, and made a break for the treeline. The visibility was a blessing. Under clear but violently windy skies, we descended to safety. The trip was only half of what we planned, but given the conditions, that was inevitable. More than anything, I felt deeply satisfied that we managed to push through.
Building an Igloo in Strong Winds with Minimal Snow
I had encountered similar conditions before on Mt. Fuji. There, with little snow, we had to stack flimsy blocks while an endless stream of granular snow particles tumbled through the gaps. That time, my companions swore they were done with igloos for good.
This time, the bivy sack inside made it somewhat bearable, though certainly not comfortable. A larger tarp might have helped if we had stretched it over the exterior, but anchoring it on blue ice would have required screws, and the wind would likely have shredded it anyway.
Of course, the best option would be to avoid camping in such places. But mountains don��t always follow orders. When faced with the unexpected, you just have to make do with what you have.
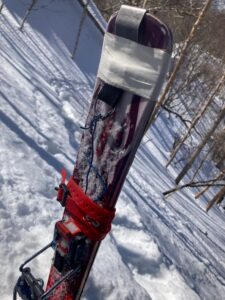
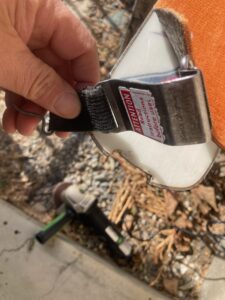
�ơ��ԥơ��פǥ��������������֡������֤ϻ��ġ��֤����ꥳ��٥�Ȥϸ������ޤǤ����Ǥ��ƤȤƤ�������˶�Ǹ��ꤹ��ųݤ����ä����ɡ���°��ϫ���ޤ줿��������⤷�Ƴ���롣In cold temperatures, ski skins can cause issues. I use taping tape to secure peeling skins?it lasts for a few hours. The red silicone belt is extremely useful as it can be operated even with thick gloves. I once made a mechanism to secure the skins with wire, but the metal fatigued and broke. It also shifted sideways and detached.
When temperatures drop below around -15��C, adhesive skins stop sticking because fine powder snow adheres to the glue surface, preventing them from attaching to the skis. This is especially problematic during ski tours that involve repeated ascents and descents, as the ability to quickly attach and remove skins is crucial. If skins fail to stick, even a small uphill section becomes impassable. I wrap taping tape or a silicone belt around the skins to deal with this issue. A few years ago, I heard a news story about someone who panicked upon facing this problem and called for rescue, unaware of these countermeasures.
Back when I was a student at Hokkaido University (40 years ago), skins were belt-fastened rather than adhesive, so this issue didn��t exist. However, adhesive skins have become the mainstream, and belt-fastened skins are now almost impossible to find.
Even with adhesive skins, it would be ideal if they came with a belt. However, many skins have a poorly designed tail section that lacks a way to secure it once it starts peeling. I wonder how others handle this. Do backcountry skiers remove their skins after one descent and never reattach them? Or do they simply not expect to ski in extreme winter conditions? Maybe they��re unaware of the issue due to fewer extremely cold days caused by global warming.
I modified my skis by cutting the tail and attaching a rubber band to the skin��s tail.
I used to make similar modifications back when belt-fastened skins were common. I cut a notch into the ski tail to prevent the metal hook from shifting sideways, then secured the skins with round rubber to prevent peeling. Nowadays, electric grinders make cutting notches in skis much easier. If elastic cord isn��t strong enough, I��ll try using a bicycle inner tube. Last time, I used wire, but repeated use caused metal fatigue, leading it to snap. Additionally, without a notch, the clip shifted sideways and detached easily.
 HOME
HOME